
The Seven P’s of Sewing: Simple Sewing Tips for Better Results
Want to improve your sewing and create neater, beautifully finished garments and projects? Whether you’re a beginner or looking to refine your skills, these practical sewing tips will help you build good habits.
I call them the Seven P’s of Sewing. Each one can make a difference to how your project comes together and the finish you achieve.
These “Seven P’s of Sewing” are simple, actionable steps, let me show you how to put them into practice.
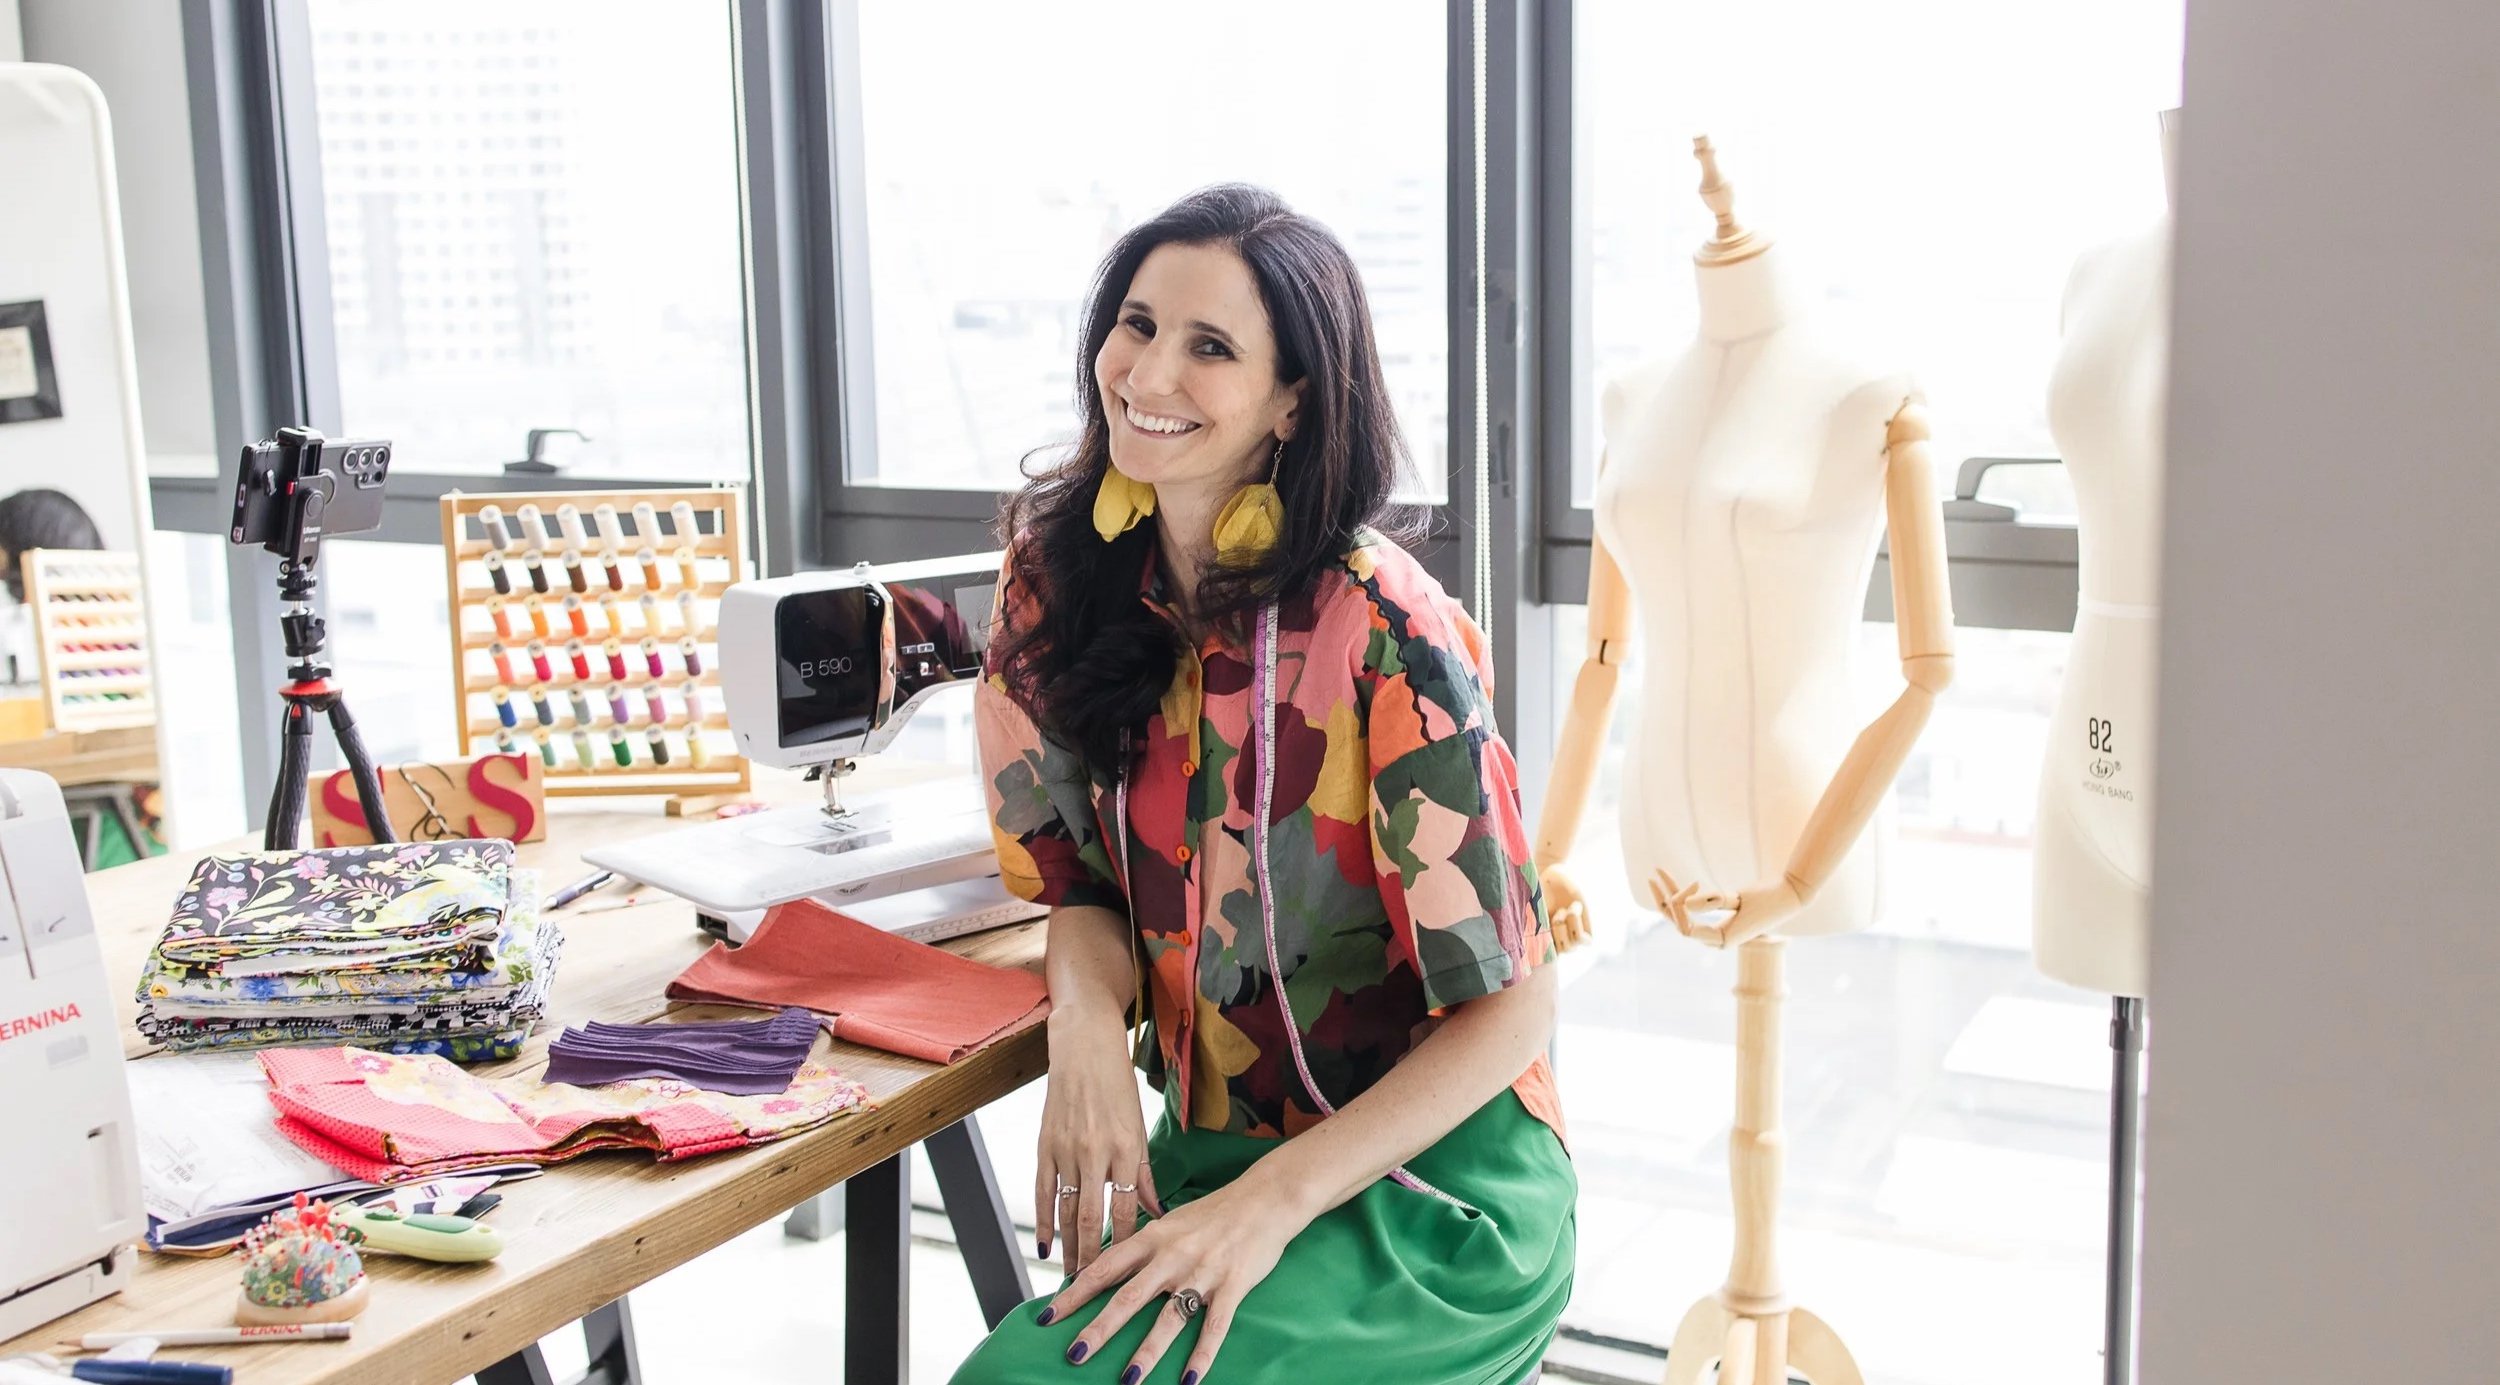
1. Plan your project
Before choosing your fabric or cutting out a pattern, think about what you want to make. Does it suit your current skills, your wardrobe and the time you have?
Choose a project you’re excited about, check what you’ll need and break it into manageable steps. A clear plan helps you spend less time wondering where to start and more time moving your sewing forward.
Pro tip:
You don’t need hours of uninterrupted sewing time. Decide what you can do in your next session, whether that’s checking your measurements, cutting out or sewing one seam.
2. Prewash your fabric before cutting
The ongoing debate: should I or shouldn’t I prewash my fabric?
This step can really save you frustration and heartache. Before you cut into fabric for a washable garment, I recommend prewashing it. Modern manufacturing methods may reduce shrinkage, but that doesn’t mean every fabric will behave the same way. Why risk discovering a change in fit after your first wash?
Cotton, linen and rayon fabrics can shrink when first washed. How much a fabric shrinks depends on its construction, finishing and how you wash and dry it.
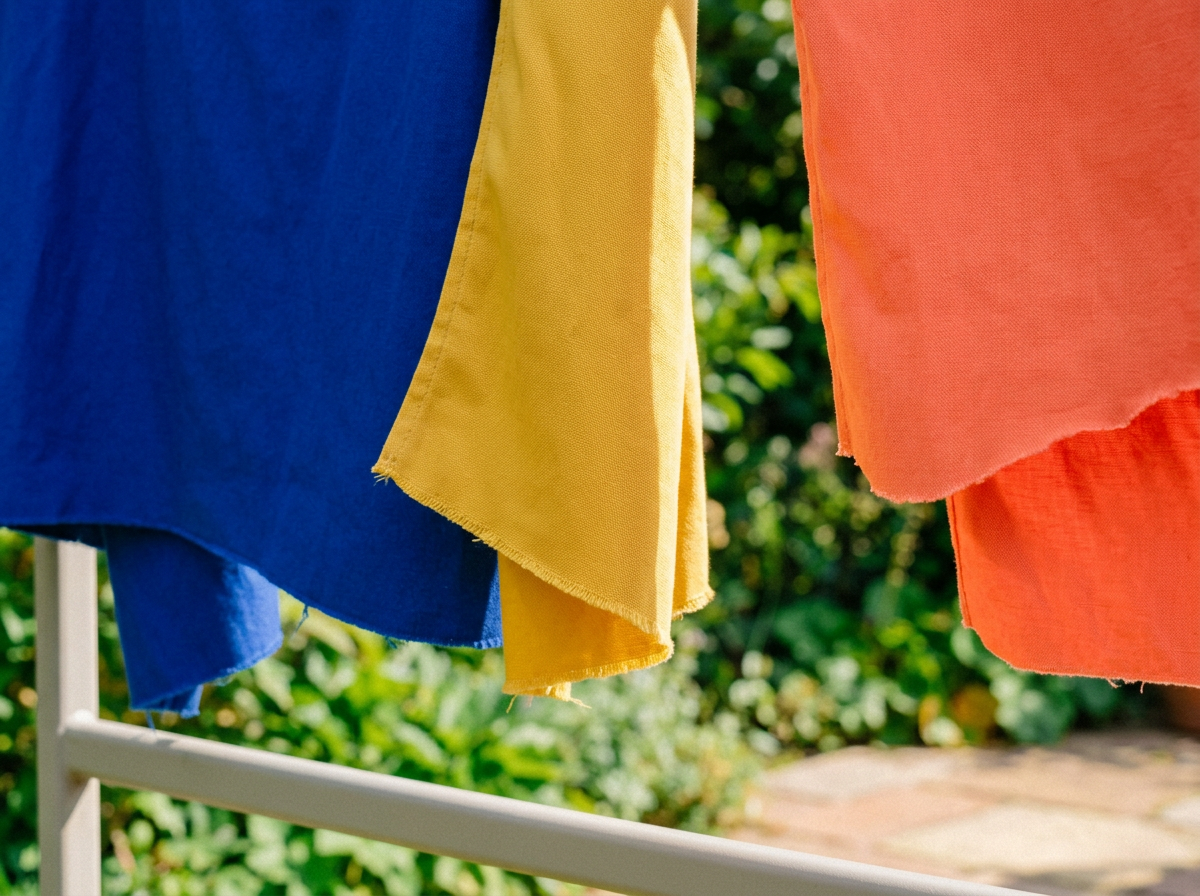
Prewashing also gives you an opportunity to spot colour bleeding before you combine fabrics in a project. Solid colours tend to have excess manufactoring dyes. It doesn’t guarantee that a fabric will never bleed again, so take extra care with strong colours and contrasting fabrics.
Fabrics can collect dust during warehouse storage, transport and handling in the shop. They may also contain finishes (chemicals) or sizing from production. Washing can remove some of these and reveal how the fabric feels and behaves afterwards.
Let your fabric dry fully, then press it before laying out your pattern.
Trust us, a quick prewash saves a lot of frustration later!
Pro tip:
Check the care instructions on the bolt or ask your fabric supplier. Treat your fabric the way you’ll treat your finished garment, including the drying method, while following the recommended care instructions. For dry-clean-only fabrics, ask about suitable preparation rather than putting them in the wash.
3. Prepare your fabric and pattern
Success in sewing starts long before you sit down at your machine. Proper preparation ensures smoother sewing and more accurate results.
Read through your pattern instructions before starting.
Check your measurements and chosen pattern size.
Mark notches and essential pattern points.
Staystitch curved edges where required to help prevent stretching. Use gathering stitches where the pattern calls for gathers.
Carefully measure (check twice rule), cut, fuse and organise your materials.
Check grainlines and the direction of prints or nap before cutting.
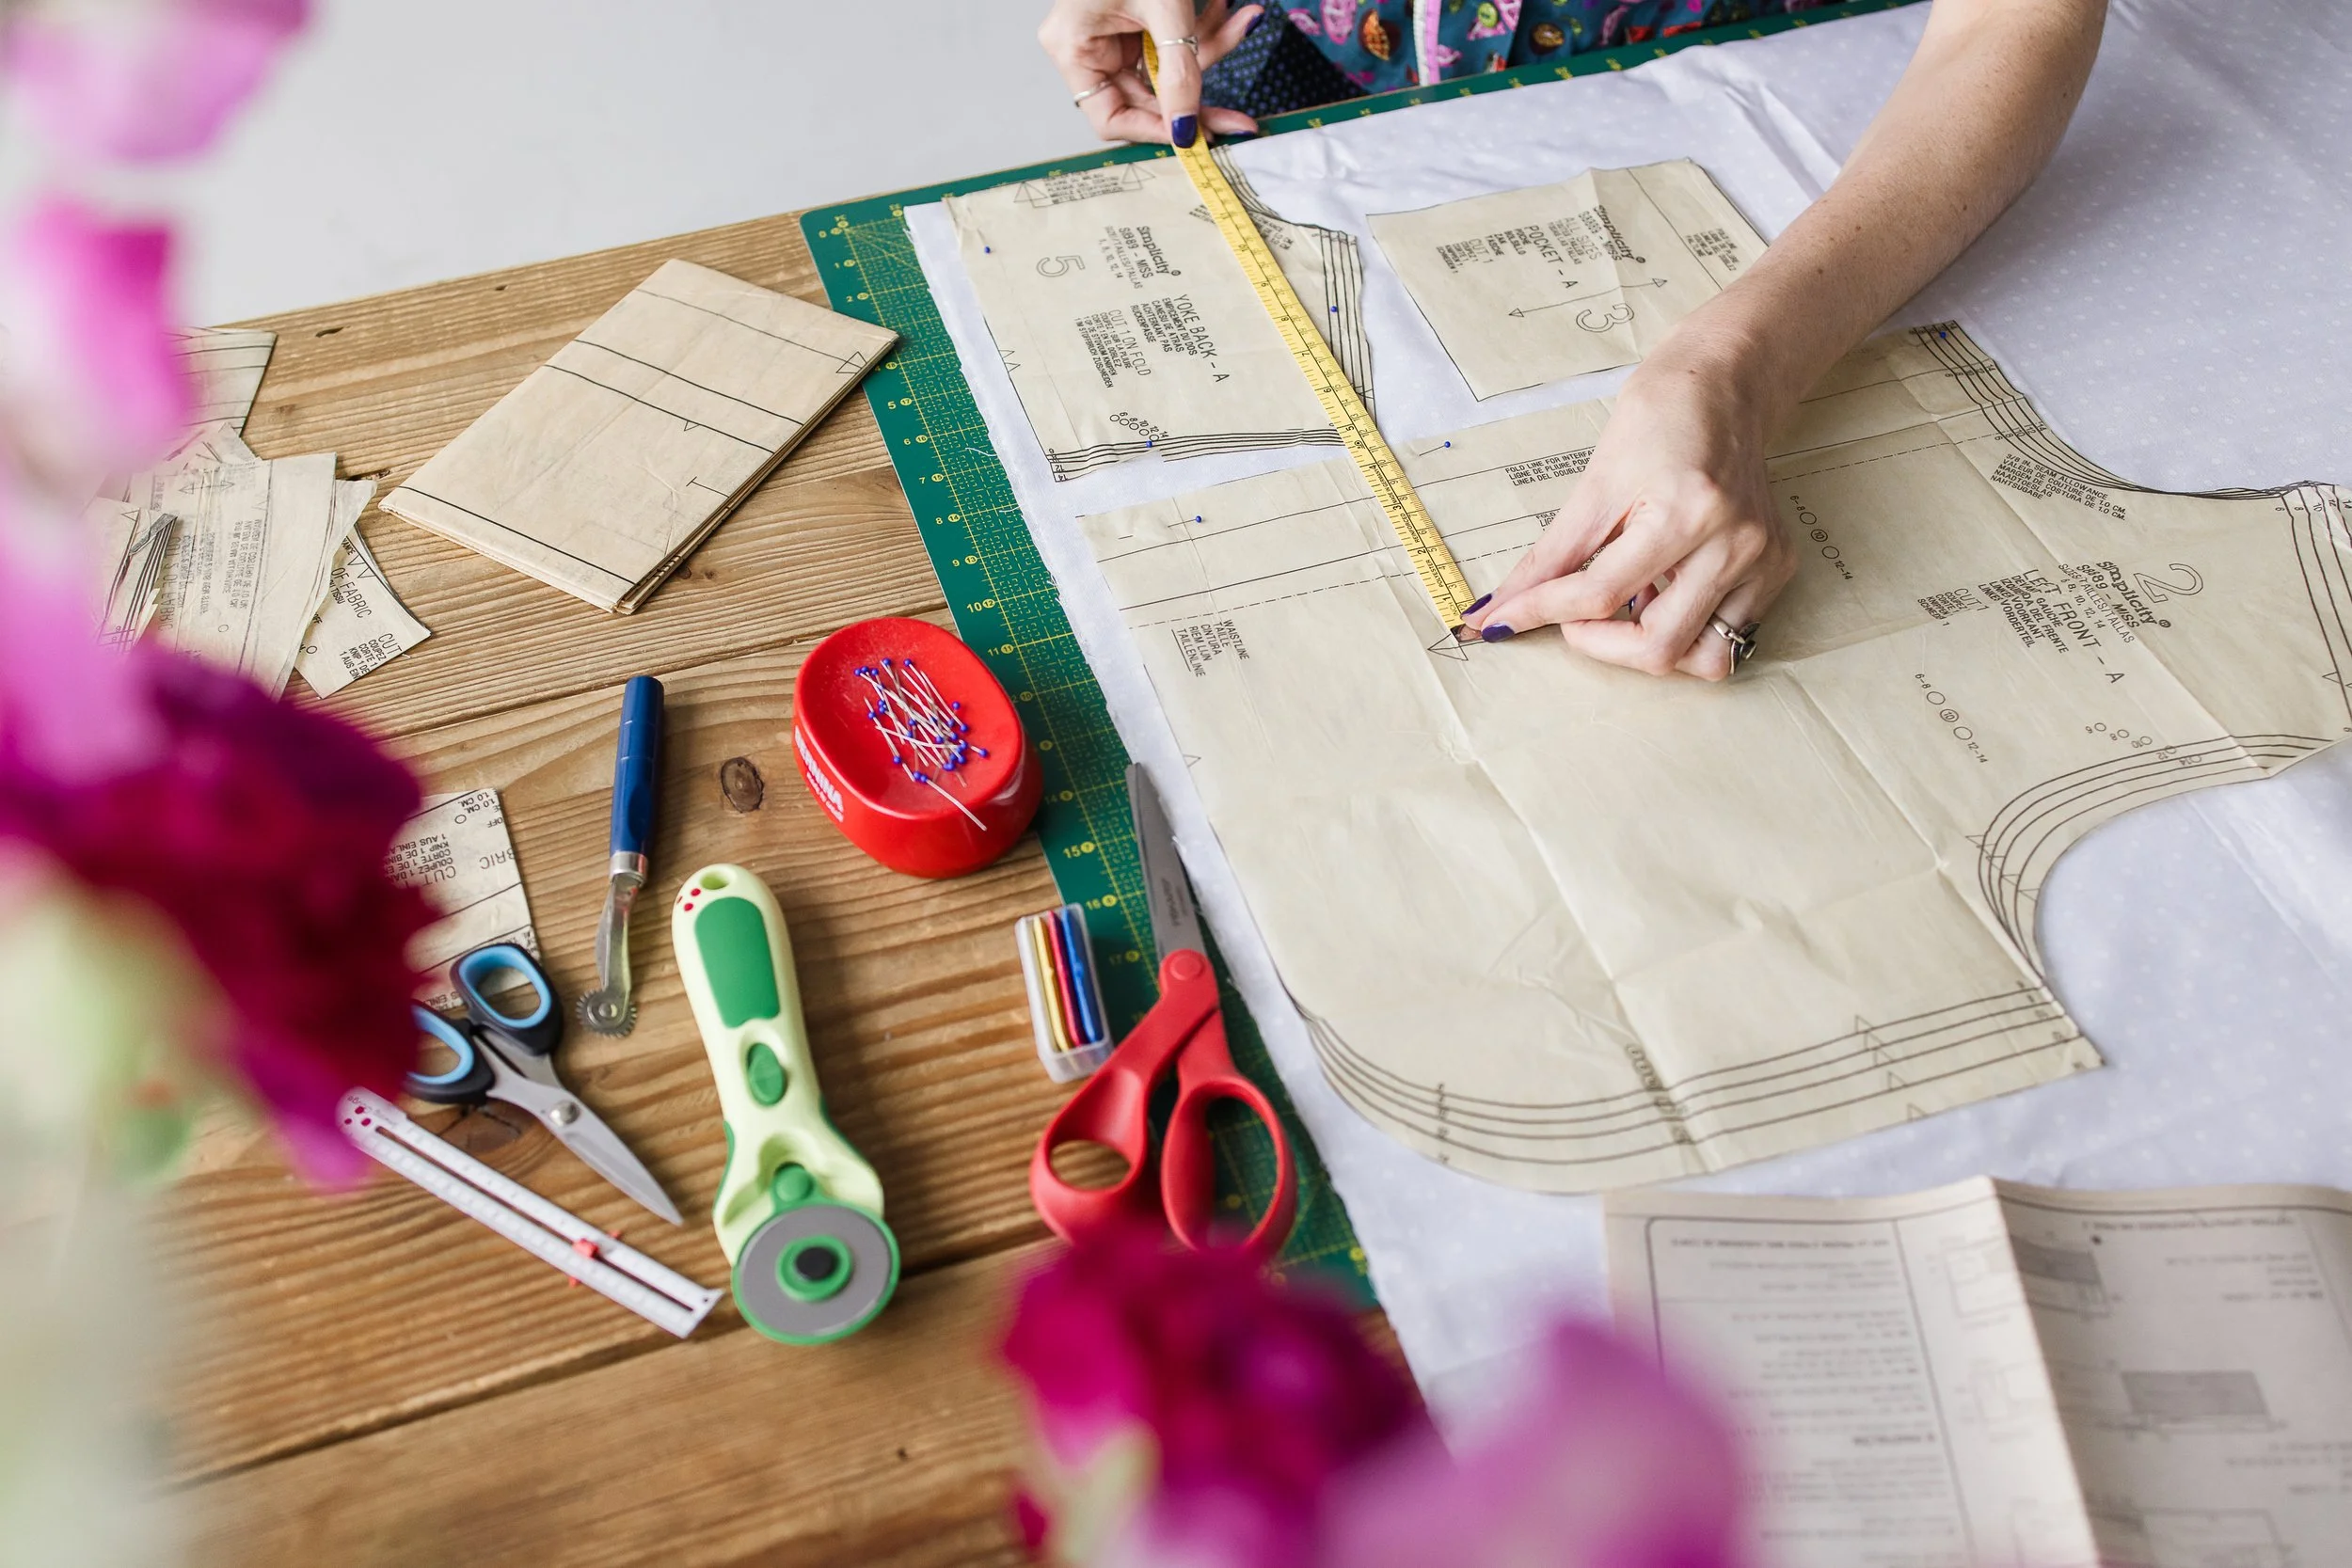
Taking the time to prepare reduces frustration and helps you understand what to do next.
Pro tip: Preparation counts as progress too. If you only have 20 minutes, you could transfer your markings, prepare your interfacing or organise the pieces for your next sewing session.
4. Press as you go
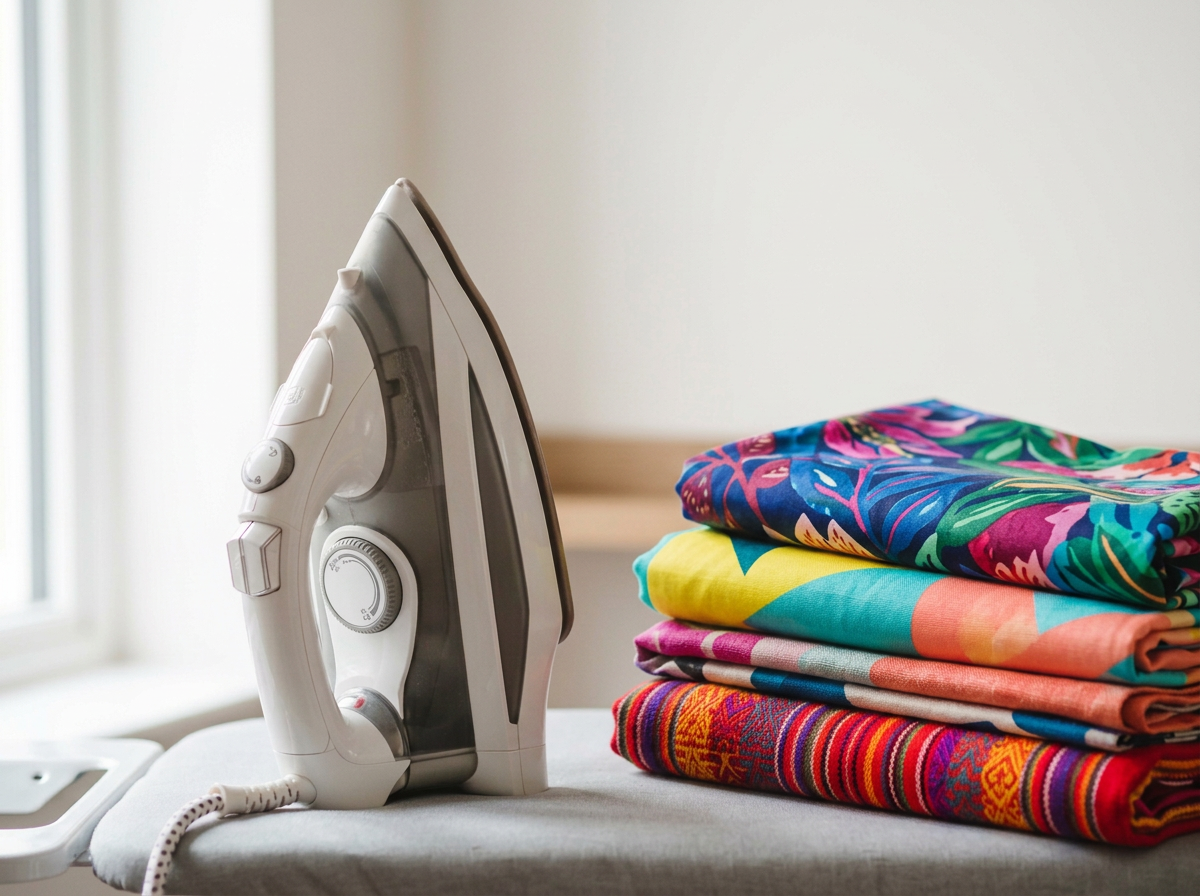
Pressing is a step that’s often underestimated but makes all the difference. Don’t wait until the end to press your seams. Press as you sew, before another seam crosses the one you’ve just stitched. This habit gives your project a polished, professional finish.
What’s the difference between ironing and pressing?
Ironing involves sliding the iron over fabric to remove creases. Pressing involves placing the iron down, then lifting it before moving to the next area. This gives you more control and helps avoid stretching or distorting your fabric.
Press the seam as sewn first to help settle the stitches, then press it open or to one side according to your pattern instructions.
Pro tip:
Test the heat and steam settings on a scrap first. Use a pressing cloth when needed to protect the surface of your fabric.
5. Pick your fabric and sewing tools wisely
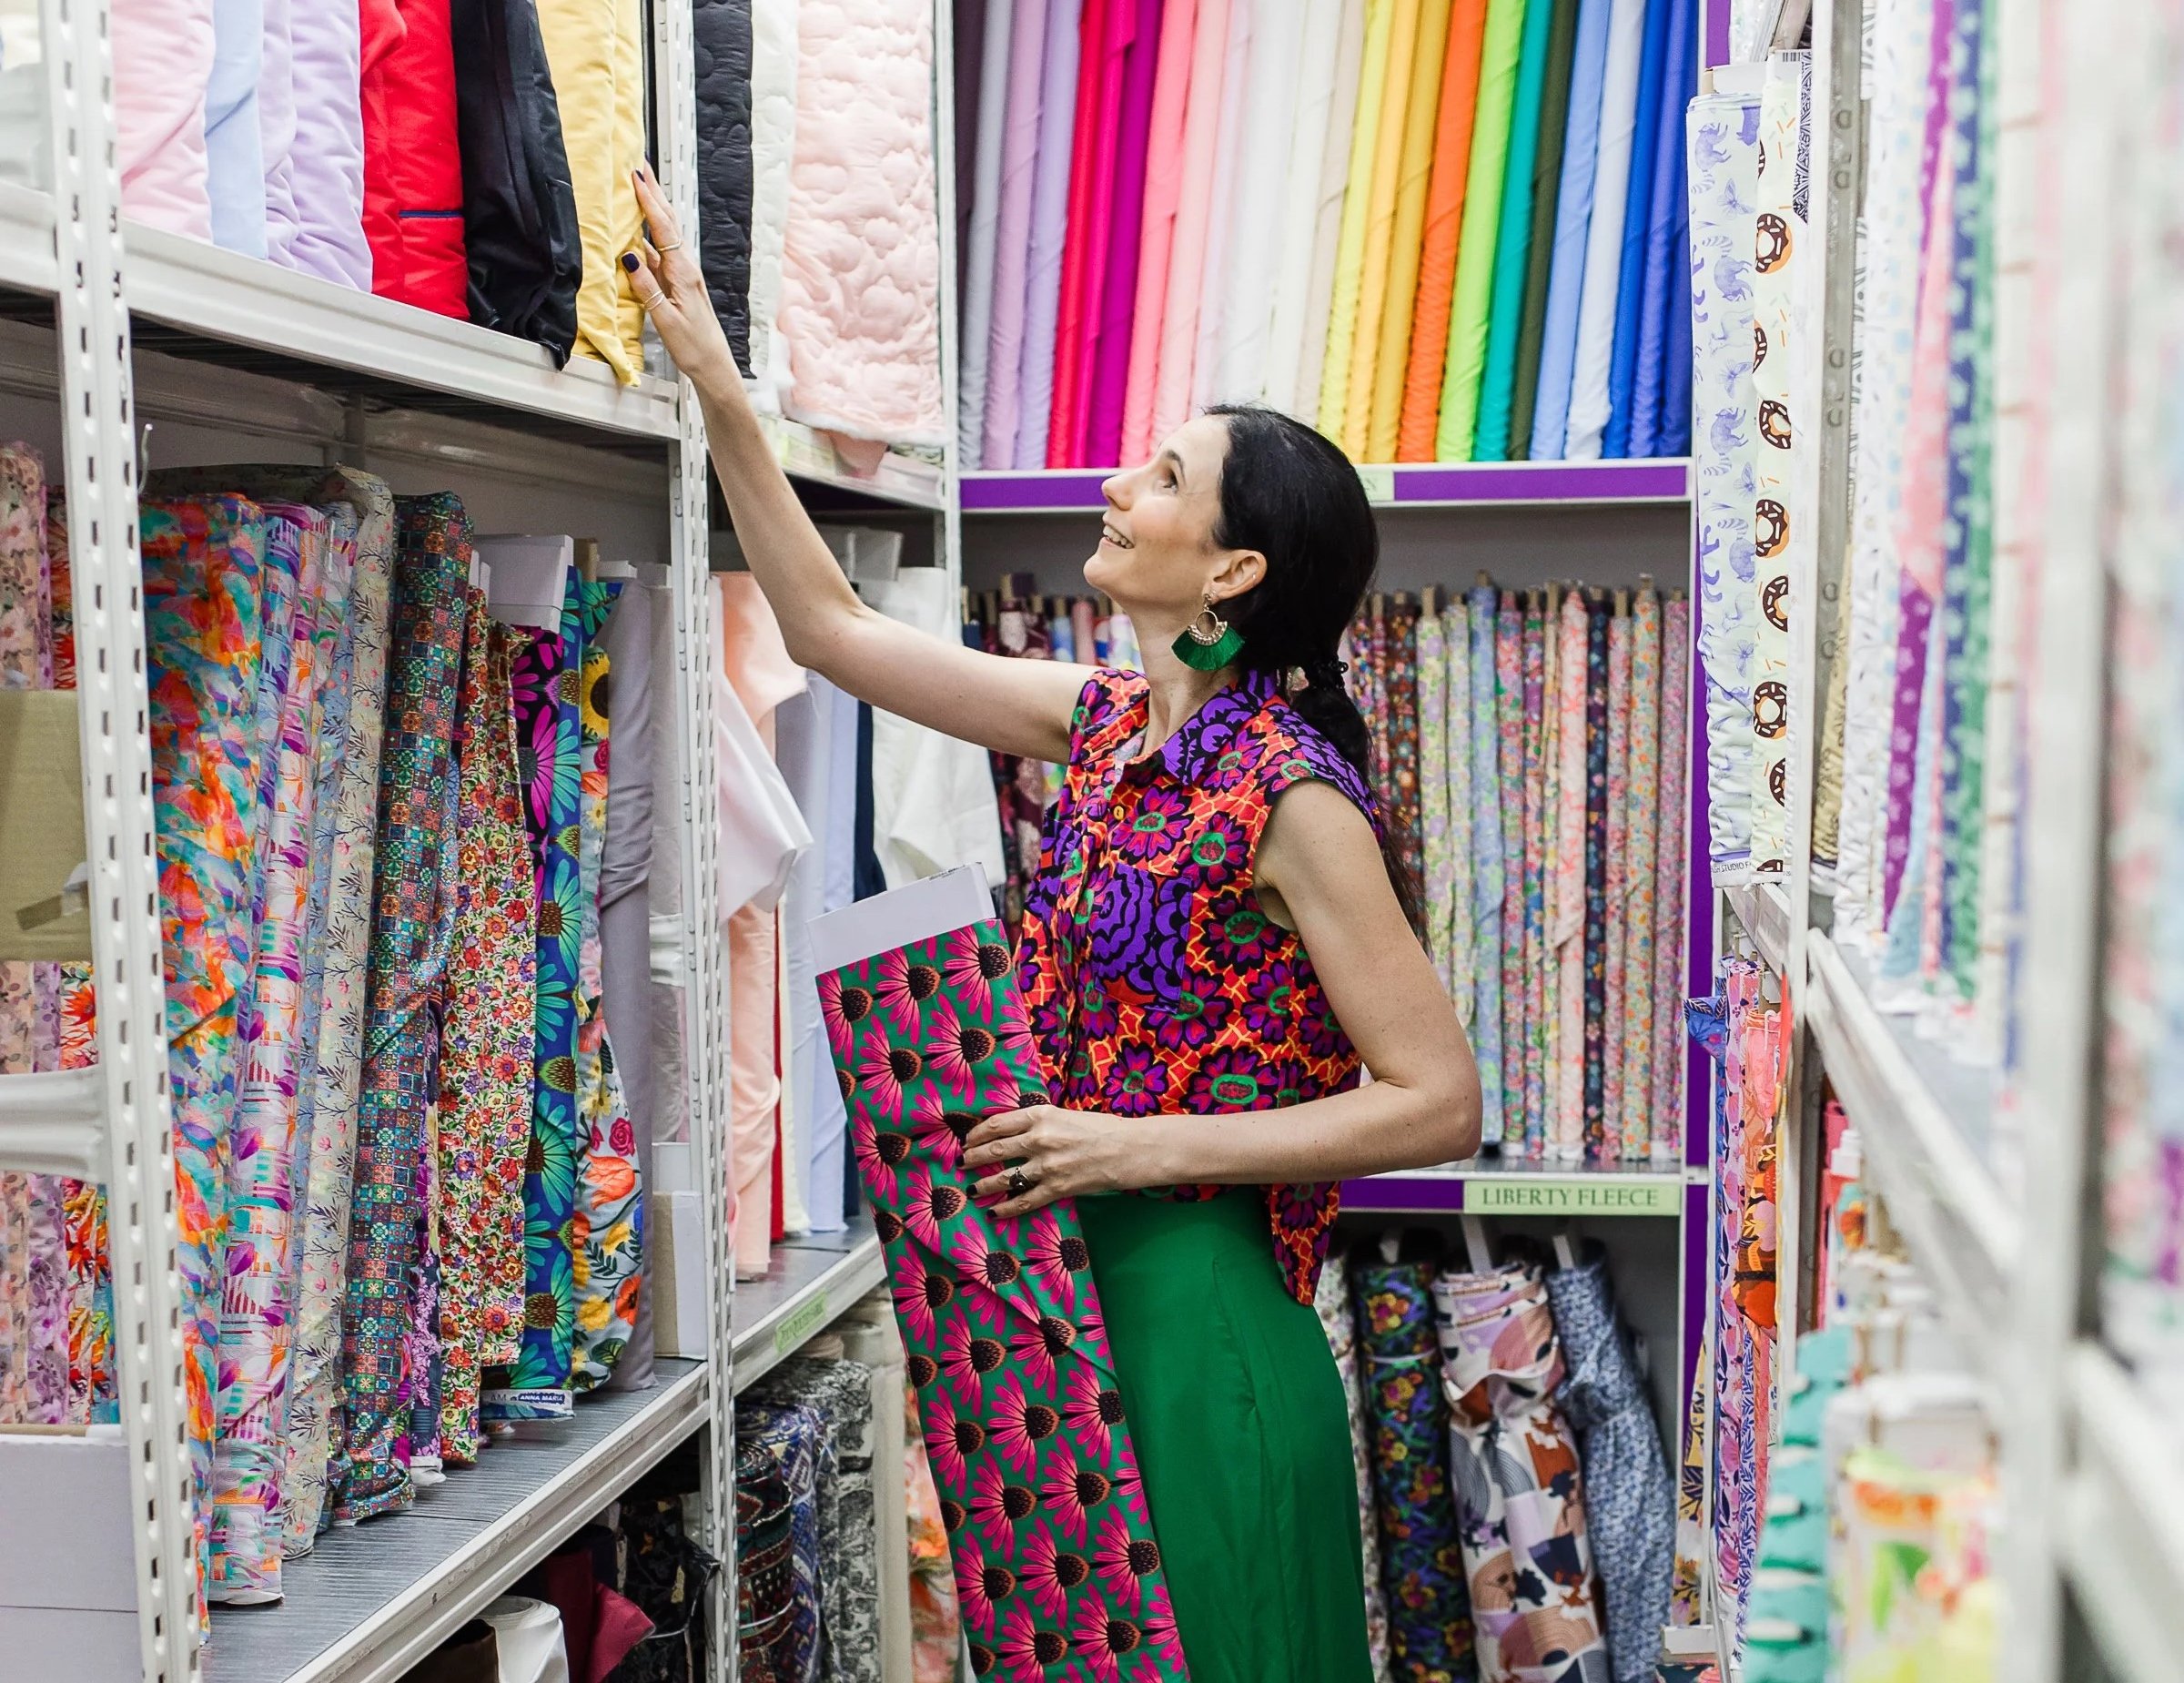
Choosing suitable fabric and tools makes sewing easier and helps you achieve the finish you want. While price doesn’t always equal quality, well-chosen materials and reliable tools are worth considering.
Fabrics for beginners: Cotton lawn, cotton poplin, cotton drill, cotton duck and quilting cotton can be manageable choices, depending on the project. Match the fabric’s weight and drape to what you’re making.
Start a swatch file: Document fabrics you’ve worked with, including their feel, performance and what they’re best suited for. Add notes about washing, pressing and the needle you used. This will help you make informed choices for future projects.
Tools matter too: Choose scissors that feel comfortable in your hand and good-quality pins suited to your fabric.
Match your needle and thread to the fabric: Test your stitches on an offcut before starting your project.
Pro tip: Getting to know your fabric and tools will help you create projects you love and that last.
SEWsimple™ members, refer to our Fabric Focus cards and ask in the community if you’re unsure what to choose.
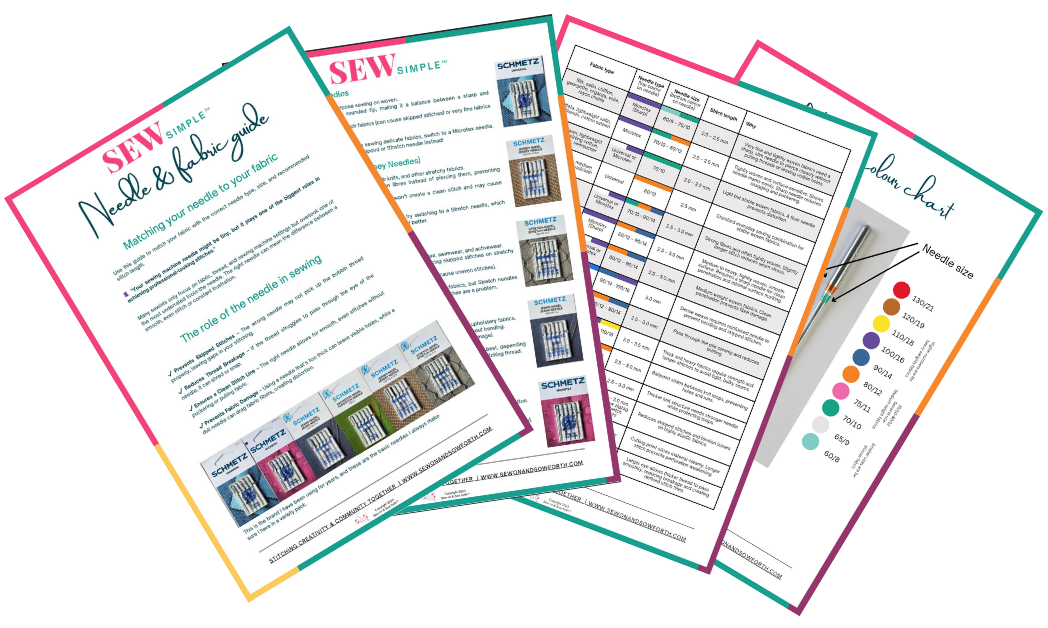
Not sure which sewing machine needle to use for your fabric? Download our free Needle Match-Up Guide to help you choose the right type and size for your next project.
6. Practise Patience with your sewing
Sewing is a skill that takes time to develop, so be kind to yourself. Mistakes happen to everyone, and rushing through a project often leads to frustration.
Instead, slow down, enjoy the process and focus on each step. Trust me, I’m guilty of rushing at times too!
Remember, this is slow fashion. Give yourself time to make thoughtful choices, learn a technique and enjoy making something for yourself.
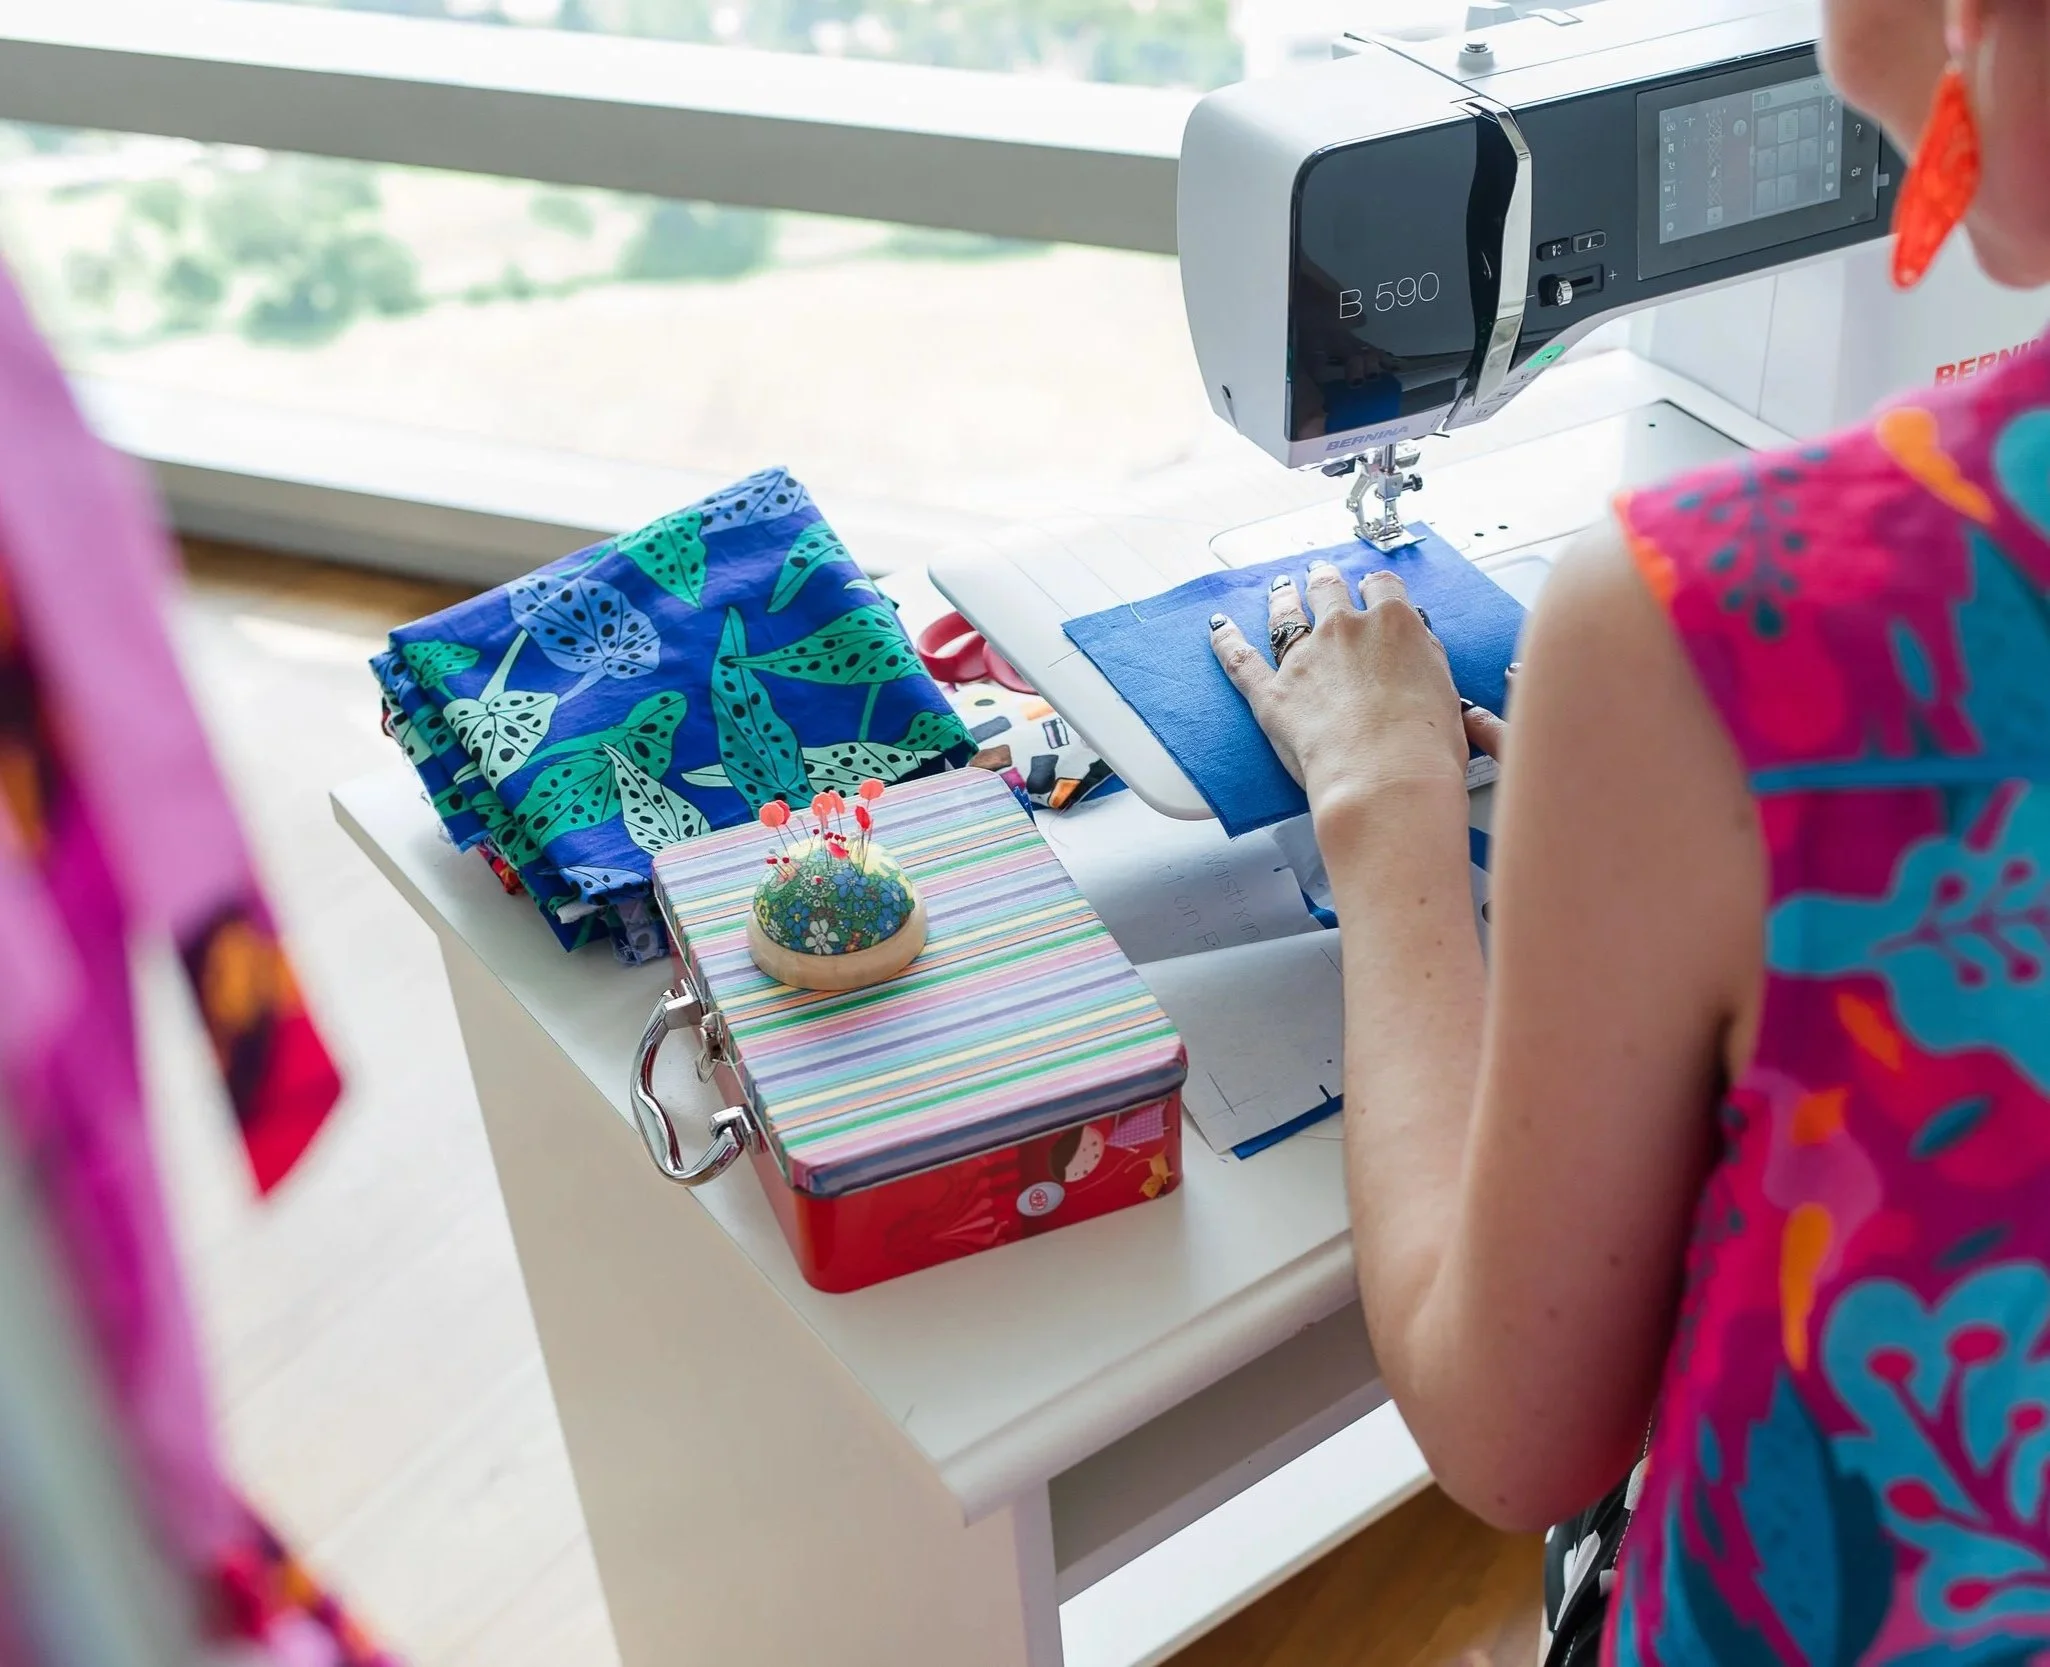
Unpicking can be progress too. Noticing that something needs adjusting means you’re developing your eye and understanding your sewing better. Unpicking can in my opinion is a really good teacher.
Pro tip: Remember, sewing is about progress, not perfection. Choose one manageable next step for the time you have. You don’t need to finish the whole project for that session to count.
7. Practice and pinning
Practice: The more you sew, the more opportunities you have to learn. Start with simple projects and repeat techniques until they feel more familiar. Practise an unfamiliar technique on a scrap before trying it on your garment.
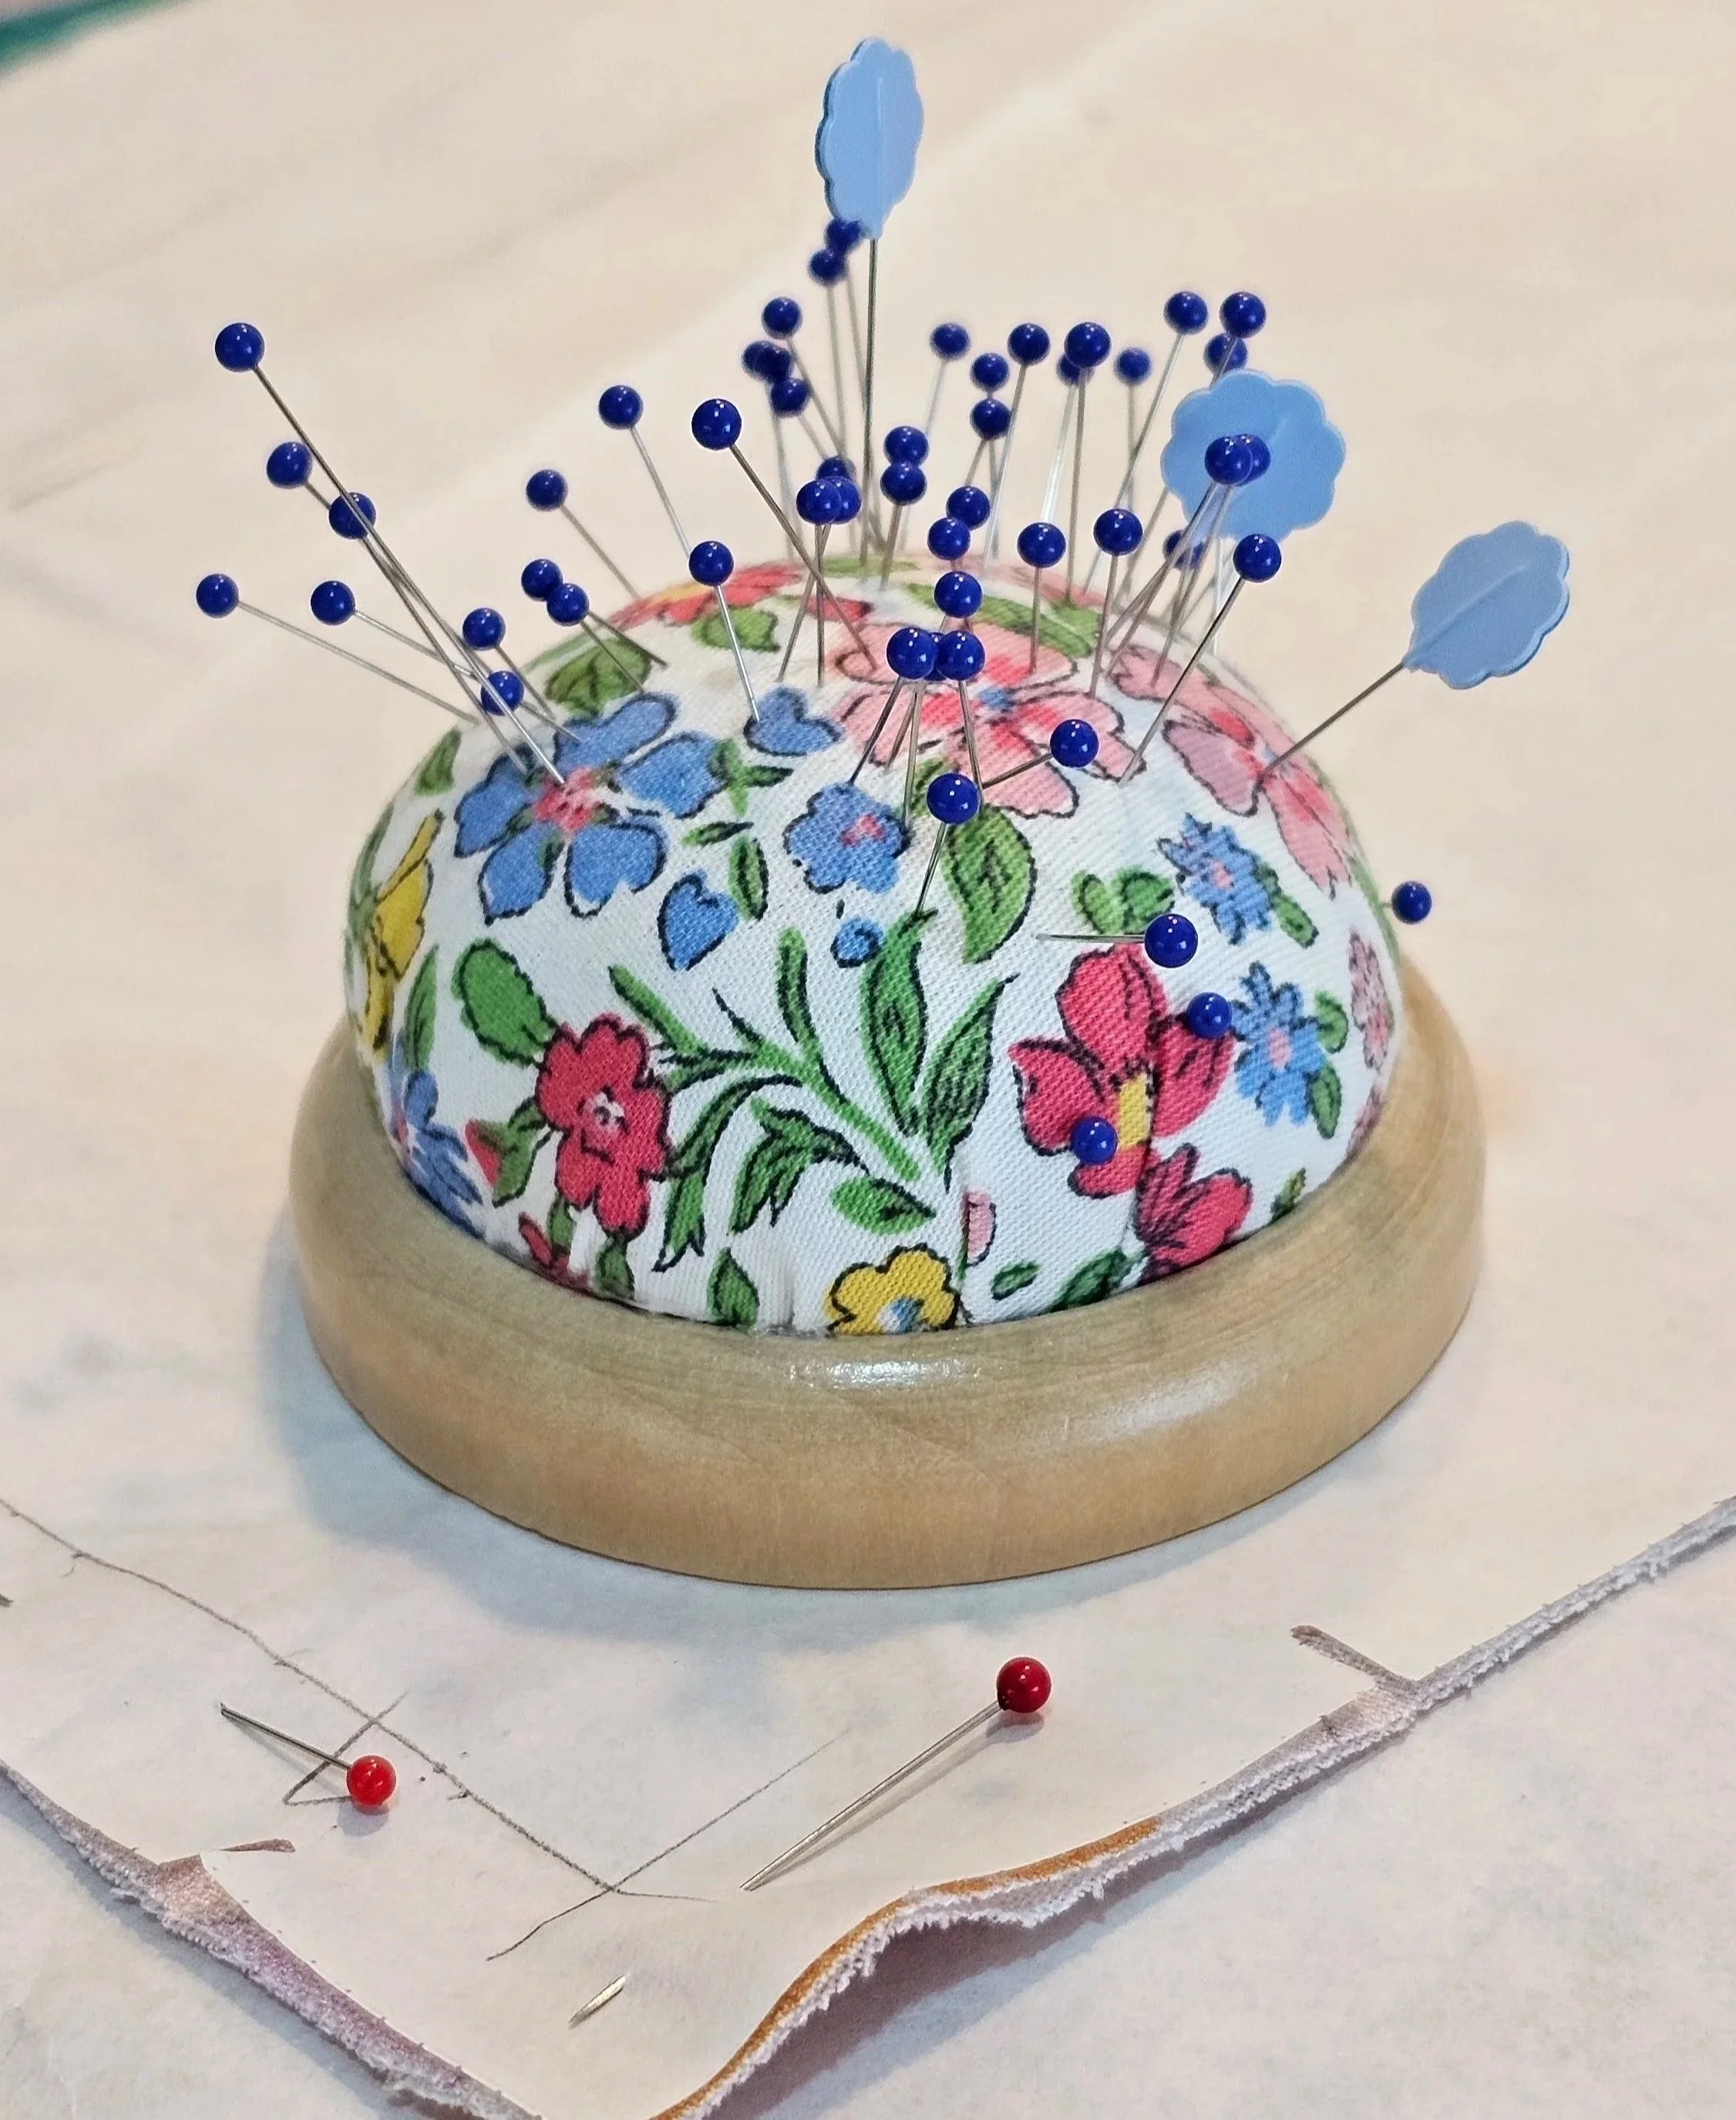
Pinning: Thoughtful pinning helps keep your fabric aligned. Match notches and key points first, then pin between them. Use enough pins to hold your fabric securely, especially on curves or tricky seams, without overcrowding or distorting it.
Pro tip:
Experiment with different pin types for different fabrics.
For delicate fabrics, choose fine, sharp pins; fine glass-head pins can be a useful option.
For heavier fabrics, use pins strong enough to pass through the layers without bending.
Remove pins before they reach the machine needle.
Sew your best with the Seven P’s
By following these seven principles, you’ll build strong foundations for your sewing projects. Whether you’re sewing your first garment or tackling your next creative project, these habits will help you sew with greater confidence and complete projects you’re proud to say, “I made this.”
Which of the Seven P’s makes the biggest difference to your sewing, or which one do you need to give a little more attention to?
Let me know in the comments below. I’d love to hear what works for you!